1. Prerequisites: Authentication and Permissions
Before configuring your workflow, ensure you have the necessary access for each service. Authentication methods and permissions differ between GitHub and Docker Hub.
1.1 GitHub: Personal Access Token (PAT) or OAuth2
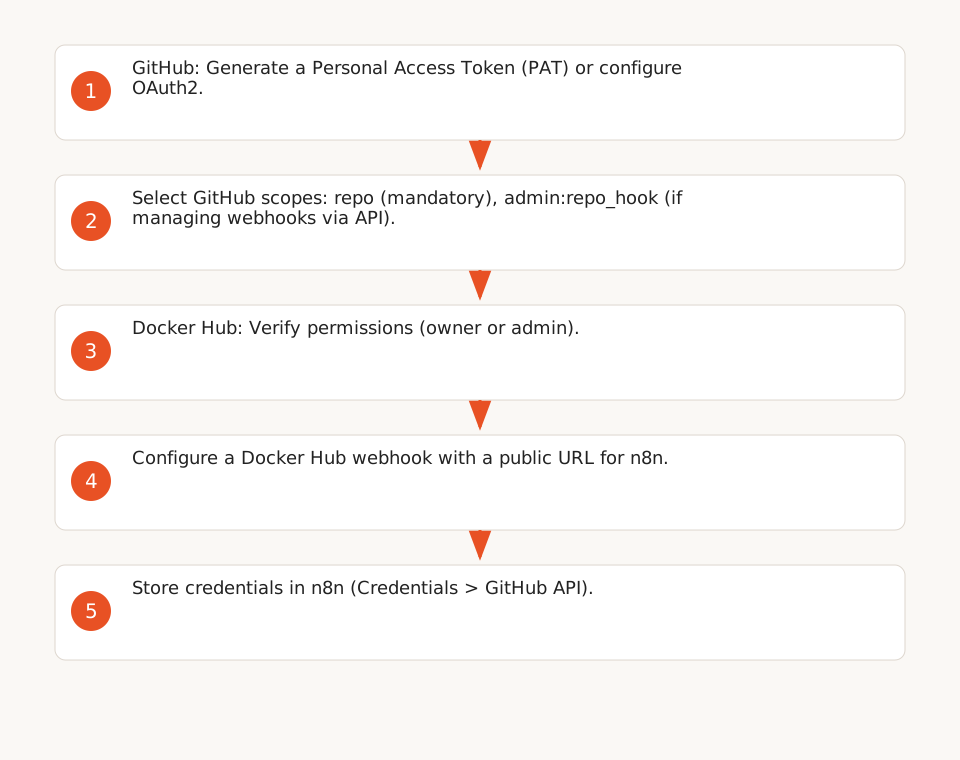
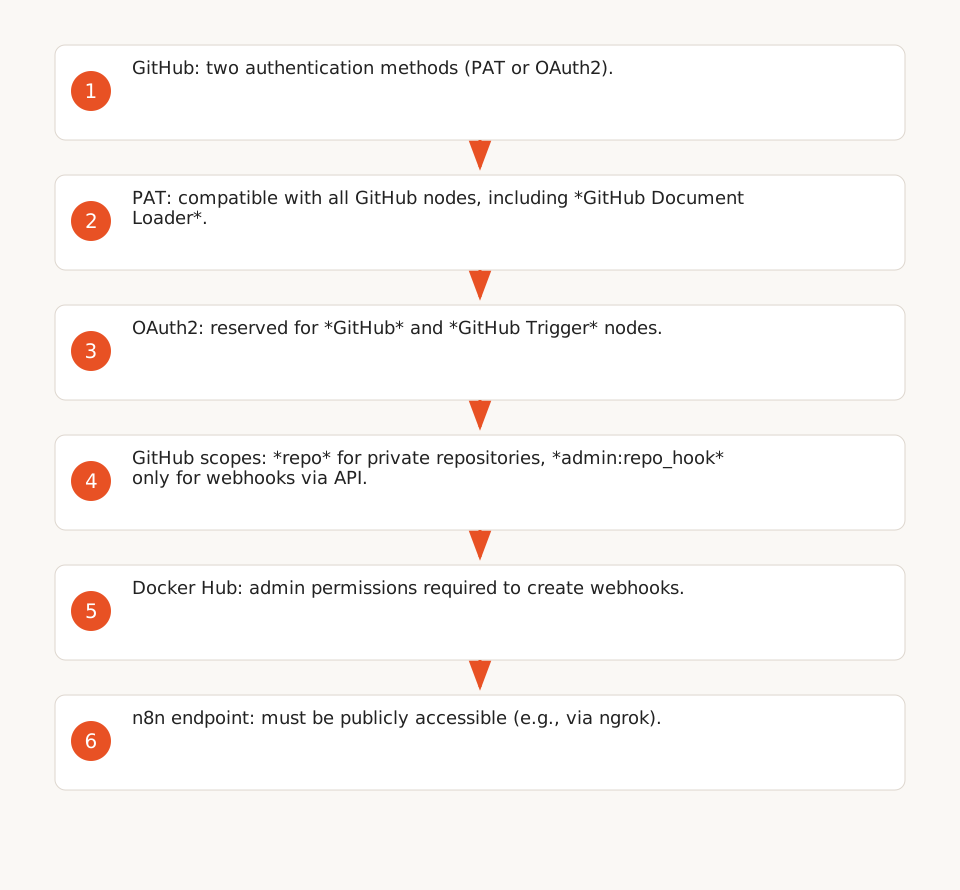
n8n supports two authentication methods for GitHub:
- Personal Access Token (PAT): Compatible with all GitHub nodes, including the GitHub Document Loader (which does not support OAuth2). Source.
- OAuth2: Reserved for the GitHub and GitHub Trigger nodes. Source.
To generate a PAT:
- Go to Settings > Developer settings > Personal access tokens > Tokens (classic) on GitHub.
- Select the required scopes:
repoto access private repositories and events like pushes or releases.admin:repo_hookonly if you use the GitHub API to create/modify webhooks (e.g., via the *HTTP Request* node). For native n8n nodes (*GitHub Trigger*, *GitHub*), thereposcope is sufficient. Source.read:orgfor organization-related events.- Choose an expiration (or No expiration for automated use, but with increased security risk).
- Copy the generated token and store it in n8n under Credentials > GitHub API.
Important: A PAT without scopes can only access public information. For private repositories, the repo scope is mandatory.
1.2 Docker Hub: Webhook Permissions
Docker Hub does not have a dedicated node in n8n. To receive alerts, you must configure a Docker Hub webhook that sends POST requests to an n8n endpoint. Source.
Prerequisites:
- Be the repository owner (for personal repositories) or have admin permissions (for organization repositories). For private repositories, the same rules apply. Source.
- Have a public URL for your n8n endpoint (e.g., via a tunnel like ngrok for self-hosted instances).
2. Configure GitHub Triggers in n8n
The GitHub Trigger node allows you to react to specific events on GitHub, such as pushes, releases, or vulnerability alerts. Here’s how to configure it.
2.1 Events Supported by the *GitHub Trigger* Node
The node supports around twenty events, including:
Push: Triggered when a commit is pushed to a branch.Release: Triggered when a release is published, edited, or deleted.Repository vulnerability alert: Triggered when a vulnerability is detected in a repository. Source.Pull request: Triggered when a pull request is opened, edited, or closed.
Caveat: The full list of supported events is available in the n8n documentation, but some advanced events (e.g., *check runs*) may require using the *HTTP Request* node.
2.2 Example Configuration
To configure the node:
- Add a GitHub Trigger node to your n8n workflow.
- Select the desired event (e.g.,
Release). - Choose the target repository (or leave blank to monitor all repositories accessible with your PAT).
- Configure advanced options if needed:
- Branch: Filter events for a specific branch.
- Ignore draft releases: Exclude draft releases.
Limitation: The GitHub Trigger node does not support all events available via the GitHub API. For example, events related to check runs or deployments are not listed in the n8n documentation. Source.
2.3 Use the *HTTP Request* Node for GitHub Webhooks
If you prefer using GitHub webhooks (e.g., to reduce latency or use events not supported by the GitHub Trigger node), you can configure a GitHub webhook to send POST requests to an n8n endpoint. Here’s how:
- In your GitHub repository, go to Settings > Webhooks > Add webhook.
- Configure the URL of your n8n endpoint (e.g.,
https://your-n8n-instance.cloud/webhook/github). - Select the events to monitor (e.g.,
ReleasesorPushes). - Add a secret to secure the requests (optional but recommended).
- In n8n, use a Webhook node to receive POST requests and an HTTP Request node to validate the secret (if used).
Note: GitHub recommends using a secret for webhooks to verify request authenticity. Source.
3. Configure Docker Hub Webhooks for n8n
Unlike GitHub, Docker Hub does not have a dedicated node in n8n. To receive alerts, you must configure a Docker Hub webhook that sends POST requests to an n8n endpoint. Here’s how to proceed.
3.1 Prerequisites for Docker Hub Webhooks
To create a Docker Hub webhook:
- You must be the repository owner (for personal repositories) or have admin permissions (for organization repositories). Source.
- Your n8n endpoint must be publicly accessible (e.g., via a tunnel like ngrok).
3.2 Configuration Steps
- In your Docker Hub repository, go to Webhooks > Create Webhook.
- Name your webhook (e.g.,
n8n-alerts). - Configure the URL of your n8n endpoint (e.g.,
https://your-n8n-instance.cloud/webhook/docker-hub). - Select the events to monitor (by default, the webhook is triggered for all pushes).
- Click Create to activate the webhook.
3.3 Docker Hub Payload Structure
When an event occurs (e.g., a tag push), Docker Hub sends a POST request to your n8n endpoint with a JSON payload containing metadata such as:
push_data.pusher: The username of the user who pushed the tag.push_data.tag: The pushed tag (e.g.,latestorv1.0.0).repository.repo_name: The repository name.repository.repo_url: The repository URL. Source.
Example payload:
{
  "push_data": {
    "pushed_at": 1417566161,
    "pusher": "trustedbuilder",
    "tag": "latest"
  },
  "repository": {
    "repo_name": "svendowideit/testhook",
    "repo_url": "https://hub.docker.com/r/svendowideit/testhook"
  }
}
3.4 Receive and Process Webhooks in n8n
To receive Docker Hub webhooks in n8n:
- Add a Webhook node to your workflow and configure it to listen for POST requests on the URL you provided to Docker Hub.
- Use a Set or Function node to extract data from the payload (e.g., the tag or repository name).
- Add logic to prioritize alerts (e.g., ignore tags like
devortest).
Limitation: Docker Hub does not allow any filtering at the webhook level (neither by tag nor by branch). All filtering must be handled in n8n (e.g., via an *IF* node). Source.
4. Build a Complete Workflow to Centralize Alerts
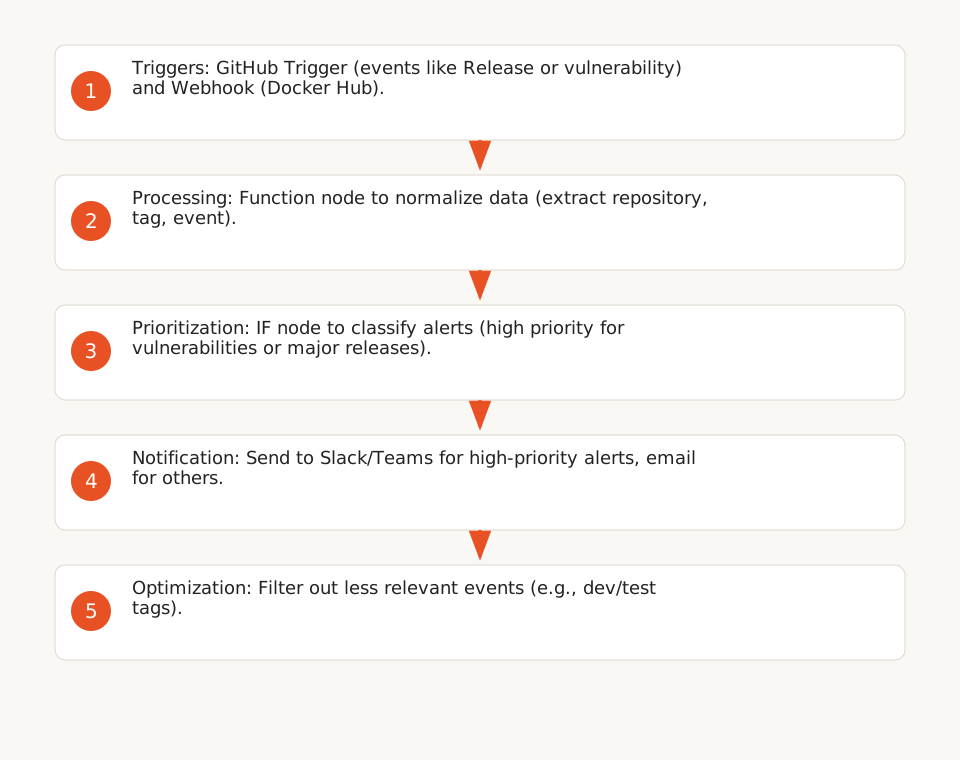
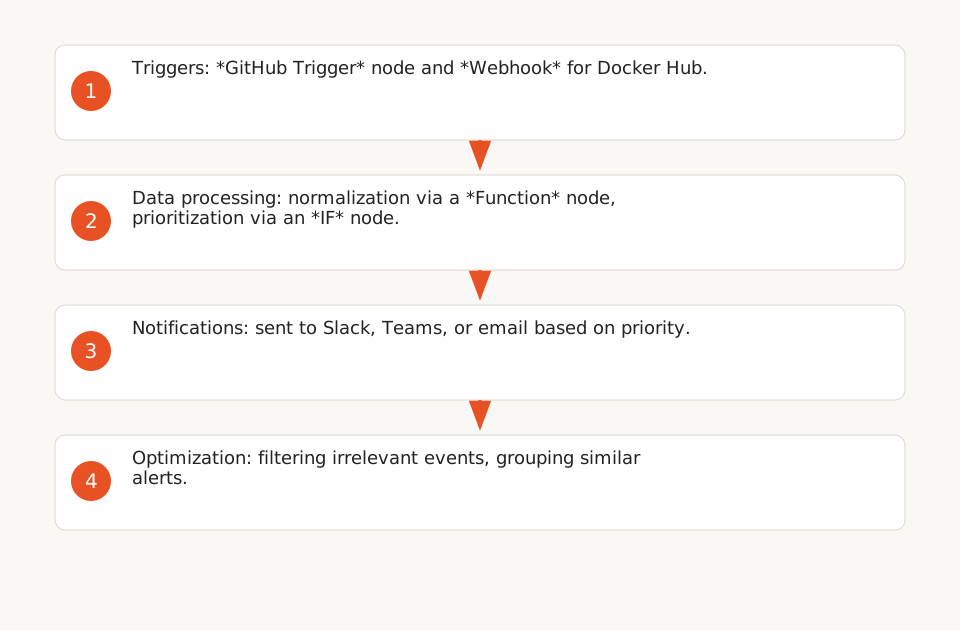
Here’s an example of an n8n workflow that combines GitHub and Docker Hub alerts, prioritizes them, and sends them to Slack or Teams.
4.1 Workflow Steps
- Triggers:
- A GitHub Trigger node for GitHub events (e.g.,
ReleaseorRepository vulnerability alert). - A Webhook node to receive Docker Hub webhooks.
- Data Processing:
- A Function node to normalize data (e.g., extract the repository name, tag, or event type).
- An IF node to prioritize alerts (e.g., send an immediate notification for vulnerabilities or major releases).
- Notifications:
- A Slack or Microsoft Teams node to send high-priority alerts.
- An Email node for less urgent alerts (optional).
4.2 Example Prioritization Logic
Here’s an example JavaScript code for a Function node to prioritize alerts:
// Normalize GitHub and Docker Hub data
let normalizedData = {};

if ($input.all()[0].json.repository) { // Docker Hub payload
  normalizedData = {
    source: "Docker Hub",
    repo: $input.all()[0].json.repository.repo_name,
    tag: $input.all()[0].json.push_data.tag,
    pusher: $input.all()[0].json.push_data.pusher,
    priority: $input.all()[0].json.push_data.tag.includes("latest") ? "high" : "low"
  };
} else if ($input.all()[0].json.action) { // GitHub payload
  normalizedData = {
    source: "GitHub",
    repo: $input.all()[0].json.repository.full_name,
    event: $input.all()[0].json.action,
    priority: $input.all()[0].json.action === "published" ? "high" : "low"
  };
}

// Return normalized data
return [normalizedData];
4.3 Workflow Optimization
To reduce costs and improve efficiency:
- Filter out less relevant events (e.g., ignore tags like
devortest). - Use a Debounce node to group similar alerts (e.g., multiple pushes to the same branch).
- Limit notification frequency (e.g., send a daily summary instead of an alert per event).
5. Limitations and Key Considerations
While n8n is a powerful tool for automating DevOps monitoring, some technical and organizational limitations must be anticipated.
5.1 Permissions and Access
- GitHub: The scopes of your PAT determine the possible actions. For example, without the
reposcope, you cannot access private repositories. Source. - Docker Hub: Only repository owners or organization admins can create webhooks. Source.
5.2 Handling Webhook Delivery Failures
Webhooks (GitHub or Docker Hub) can fail for several reasons:
- Your n8n endpoint is unavailable (e.g., due to maintenance or network issues).
- The payload exceeds n8n’s maximum allowed size (16 MB by default for incoming requests).
- The authentication token or secret is invalid or expired.
Solution:
- Use an Error Trigger node in n8n to capture failures and send an alert (e.g., via Slack).
- Configure automatic redeliveries for GitHub webhooks (via a script). Source.
5.3 Maintenance and Scalability
- Expired Tokens: If you use a GitHub PAT with an expiration date, plan a process to renew it and update it in n8n.
- API Changes: GitHub and Docker Hub may modify their APIs or webhook payloads. Test your workflow regularly to detect breaks.
- Scalability: If you monitor hundreds of repositories, consider grouping alerts or using tags to filter relevant events.